Have you ever looked at a magnificent horse and wished you could capture its grace on paper? Maybe you thought drawing such a creature would be too hard, or perhaps that it would take too much skill. Well, good news, because learning to draw a horse easy is truly within your reach, no matter your current art experience. It's almost like a secret, but a very open one, that anyone can pick up a pencil and create something lovely.
Lots of people feel a bit stuck when they first try to draw animals, especially something as grand as a horse. They might worry about getting the proportions right or making it look lifelike. But honestly, with the right guidance, you can learn how to draw a horse easy for beginners. These step-by-step art tutorials are designed to make the whole process fun and straightforward, you know?
So, if you're someone who loves animals and wants to try your hand at drawing them, or if you just want to improve your artistic skills, then this is for you. We'll walk through simple methods that help you create a pretty cartoon horse or even a pony drawing that looks good. It's a bit like following a recipe, really, where each step builds on the last, and before you know it, you have something wonderful.
Table of Contents
- Your First Steps to Horse Drawing Easy
- Getting Started: The Right Tools for an Easy Horse Drawing
- Breaking It Down: Step-by-Step Horse Drawing Easy
- Different Ways to Learn Horse Drawing Easy
- Tips for Making Your Horse Drawing Easy Even Better
- Common Questions About Horse Drawing Easy
- Keeping Your Drawing Journey Going
Your First Steps to Horse Drawing Easy
When you're ready to start drawing, the most important thing is to just begin. It's often the thought of it that feels bigger than the actual doing. Many people find that following along with a video tutorial makes it super easy, you know, because you can pause and rewind as much as you need to. That way, you can see the drawing process happen right in front of your eyes, which is incredibly helpful. This kind of learning is pretty direct, and it gives you a good sense of how things come together.
Some tutorials, like those from "mister brush" or "artist dani puente," really break things down into simple, manageable pieces. They show you how to draw a horse easy, step by step, making sure you don't feel lost at any point. It's about building confidence with each line you make, which is rather important for anyone starting out. You'll find that these guides often start with very basic shapes, which is a great way to approach any animal drawing.
The beauty of learning to draw a horse easy is that it's accessible to everyone. Whether you're a kid just starting out with art or an adult wanting a new hobby, these methods work. You don't need fancy supplies, just a pencil and paper, and maybe an eraser, which is quite useful for those initial sketches. In fact, having a good eraser is pretty essential, as you'll be sketching the first parts lightly and then cleaning things up later. It's all part of the process, you see.
Getting Started: The Right Tools for an Easy Horse Drawing
Before you even put pencil to paper, it's good to have a few simple things ready. You don't need a whole art studio, honestly. A regular pencil, like one you use for writing, is perfectly fine. The key is to have one that isn't too hard, maybe a B or 2B, because those make lighter lines that are easier to erase. This is quite important for the initial sketching phase, as you'll be making a lot of light marks that you'll later refine or get rid of.
Then, as I was saying, a good eraser is your best friend. A kneaded eraser is fantastic because it picks up graphite without smudging too much, but a standard rubber eraser works just fine too. You'll be using it a lot, especially when you're just learning how to draw a horse easy. It allows you to make mistakes without fear, which is a big part of learning any new skill. Just sketch lightly at first, and then you can clean up those extra lines later, you know?
Paper is another simple thing, and any kind of drawing paper or even just printer paper will do. You don't need anything special, particularly when you're just practicing how to draw a horse easy. Some people like to use crayons or other colorful mediums to add color once the drawing is done, which is a fun way to finish your piece. But for the basic drawing part, just pencil and paper are all you really need, which is rather nice, isn't it?
Breaking It Down: Step-by-Step Horse Drawing Easy
The real secret to making horse drawing easy is to break it down into very small, manageable steps. This approach takes away all the overwhelm. It’s not about drawing a whole horse at once; it’s about drawing one simple shape, then another, and then connecting them. This method is perfect for beginners, and it actually helps you understand the horse's form better as you go along. It's kind of like building with blocks, one piece at a time.
Many tutorials, including those that show you how to draw a great looking easy horse, follow this exact principle. They guide you from basic shapes and sketching to defining detailed characteristics. This way, you don't feel like you're trying to tackle something too big all at once. It's a very practical way to learn, and it typically yields good results pretty quickly, you know?
Starting with Basic Shapes
To begin your easy horse drawing, you'll want to start with some simple shapes. Think of circles and ovals. You might draw one oval for the body, and another, smaller one for the head. These don't need to be perfect circles; they are just guides, remember. This initial step is really about getting the overall placement and size right on your paper. It's the skeleton of your drawing, in a way, so it's quite important to get this bit right, but don't press too hard with your pencil.
For instance, you might draw a medium-sized oval for the horse's chest area and a slightly smaller oval behind it for the hindquarters. Then, you can connect these with a gentle curve for the back. This gives you the main mass of the horse. It's all about establishing the general flow and proportions early on. This basic framework is what everything else will build upon, so it's a foundational step, as a matter of fact.
Some people even like to start with a few simple lines to indicate where the neck and legs will go. These are just light, sketchy lines, almost like a stick figure. This really helps with the placement before you start adding more detail. It's a rather simple way to plan out your drawing, and it can save you from having to make big changes later on, you know?
Shaping the Body and Legs
Once you have your basic shapes in place, you can start to connect them and give your horse more of its true form. You'll gently round out the lines, turning those ovals into the smooth curves of a horse's body. This is where your light sketching comes in handy, because you can adjust these lines easily. It's about seeing the overall shape rather than getting caught up in tiny details just yet, which is a good habit to pick up.
For the legs, you can draw simple stick lines first, showing where each leg will bend. Think of the joints – the knees and hocks – as small circles along these lines. Then, you can draw two lines around each stick line to create the thickness of the leg. This method, as I was saying, makes drawing legs much less intimidating. It's a pretty straightforward way to build them up, piece by piece.
Remember that horses have strong, powerful legs, so try to give them a bit of width. The hooves can be drawn as simple block shapes at the bottom of each leg. This stage is all about building volume and getting the general structure right. You'll find that by following these simple steps, you too can easily draw a perfect easy horse, which is rather satisfying, isn't it?
Adding the Horse Head and Facial Features
The horse head is often a part that people find a bit tricky, but it doesn't have to be. You can start with a simple, slightly elongated oval or a rounded rectangle for the main part of the head. Then, you can add a smaller circle or oval for the muzzle area. Connecting these two shapes with gentle curves will start to form the horse's profile. It's a very systematic way to approach it, and it works pretty well.
For the ears, draw two leaf-like shapes on top of the head. Their placement can really give your horse expression. The eyes can be simple ovals or almond shapes, placed on the side of the head. The nostrils are just small, curved lines near the muzzle. These little details really bring your horse to life, you know? It's amazing what a few simple marks can do.
Artist Dani Puente, for instance, shows how to draw a horse easily step by step, going from basic shapes to defining detailed characteristics like the horse head. This approach is incredibly helpful for anyone trying to get the features right without feeling overwhelmed. It's all about breaking down the complex into the simple, which is a good principle for any kind of drawing, actually.
Giving Your Horse Character: Mane and Tail
Now comes the fun part where you add some personality to your horse: the mane and tail. These elements can be drawn with flowing, curved lines. For the mane, you can draw a series of wavy lines along the back of the neck, making it look like it's blowing in the wind or resting gently. You can make it as short or as long, as thick or as thin, as you like, really. It's your horse, after all.
The tail should also have a natural flow. Think of it as a long, graceful curve extending from the horse's hindquarters. You can add individual strands or just draw it as a mass of hair with some texture lines. This is where you can be a bit more expressive with your lines. It's a good way to add movement and life to your drawing, you know?
These elements really help to define your horse's overall look. Whether you're aiming for a pretty cartoon horse or something a bit more realistic, the mane and tail add a lot of charm. It's about letting your hand move freely and creating those natural, flowing shapes. You'll find that this part is actually quite enjoyable, and it adds a lot to the finished piece, as a matter of fact.
Refining and Finishing Touches
Once you have all the main parts sketched out, it's time to refine your drawing. This is where that good eraser comes in handy again. You'll gently erase all those initial light sketch lines that you no longer need. This cleans up your drawing and makes the main outlines stand out. It's a bit like polishing a gem, really, bringing out the best in what you've created.
Then, you can go over your main outlines with a slightly darker pencil pressure to make them more prominent. You might add a few subtle details, like some muscle definition with light shading, or a bit of texture to the coat. You don't need to be overly detailed; even a few well-placed lines can suggest a lot. This stage is about making your horse drawing easy look complete and polished, you know?
Some tutorials also include underdrawings, glazing color, and correcting mistakes, which are more advanced techniques but show how much you can do. For a simple and cute horse for kids, just cleaning up the lines and maybe adding some simple color with crayons is enough. It's about enjoying the process and being happy with your creation, which is the most important thing, honestly.
Different Ways to Learn Horse Drawing Easy
There are so many ways to pick up this skill, which is pretty great. You can find video tutorials, which are fantastic because you can watch the artist's hand move and really see how each line is made. These are often perfect for visual learners. Many videos go through a step-by-step tutorial on how to draw a scene, like a horse stable where people are feeding and petting the horse, which adds a bit of story to your drawing, you know?
Then there are written guides, like this one, that break down the steps with clear instructions. Some even offer printables and coloring pages, which can be a fun way to practice or just relax with your art. These can be really helpful for understanding the structure before you try to draw it yourself. It's a rather straightforward way to get started, and it's quite popular.
Websites like drawing123.com, for example, often show you how to draw a simple and cute horse. They make it accessible for everyone, which is what we're aiming for here. Pinterest is also a great place to find and save ideas about horse drawing easy simple, giving you lots of inspiration and different styles to try. There's a whole world of resources out there, as a matter of fact, just waiting for you to explore them.
Tips for Making Your Horse Drawing Easy Even Better
Practice, practice, practice! This is probably the most important tip for any drawing skill. The more you draw, the more comfortable you'll become with the shapes and proportions. Don't worry if your first few attempts aren't perfect; that's completely normal. Every artist starts somewhere, and it's through repetition that you really improve, you know? It's a bit like learning to ride a bike, you just keep trying.
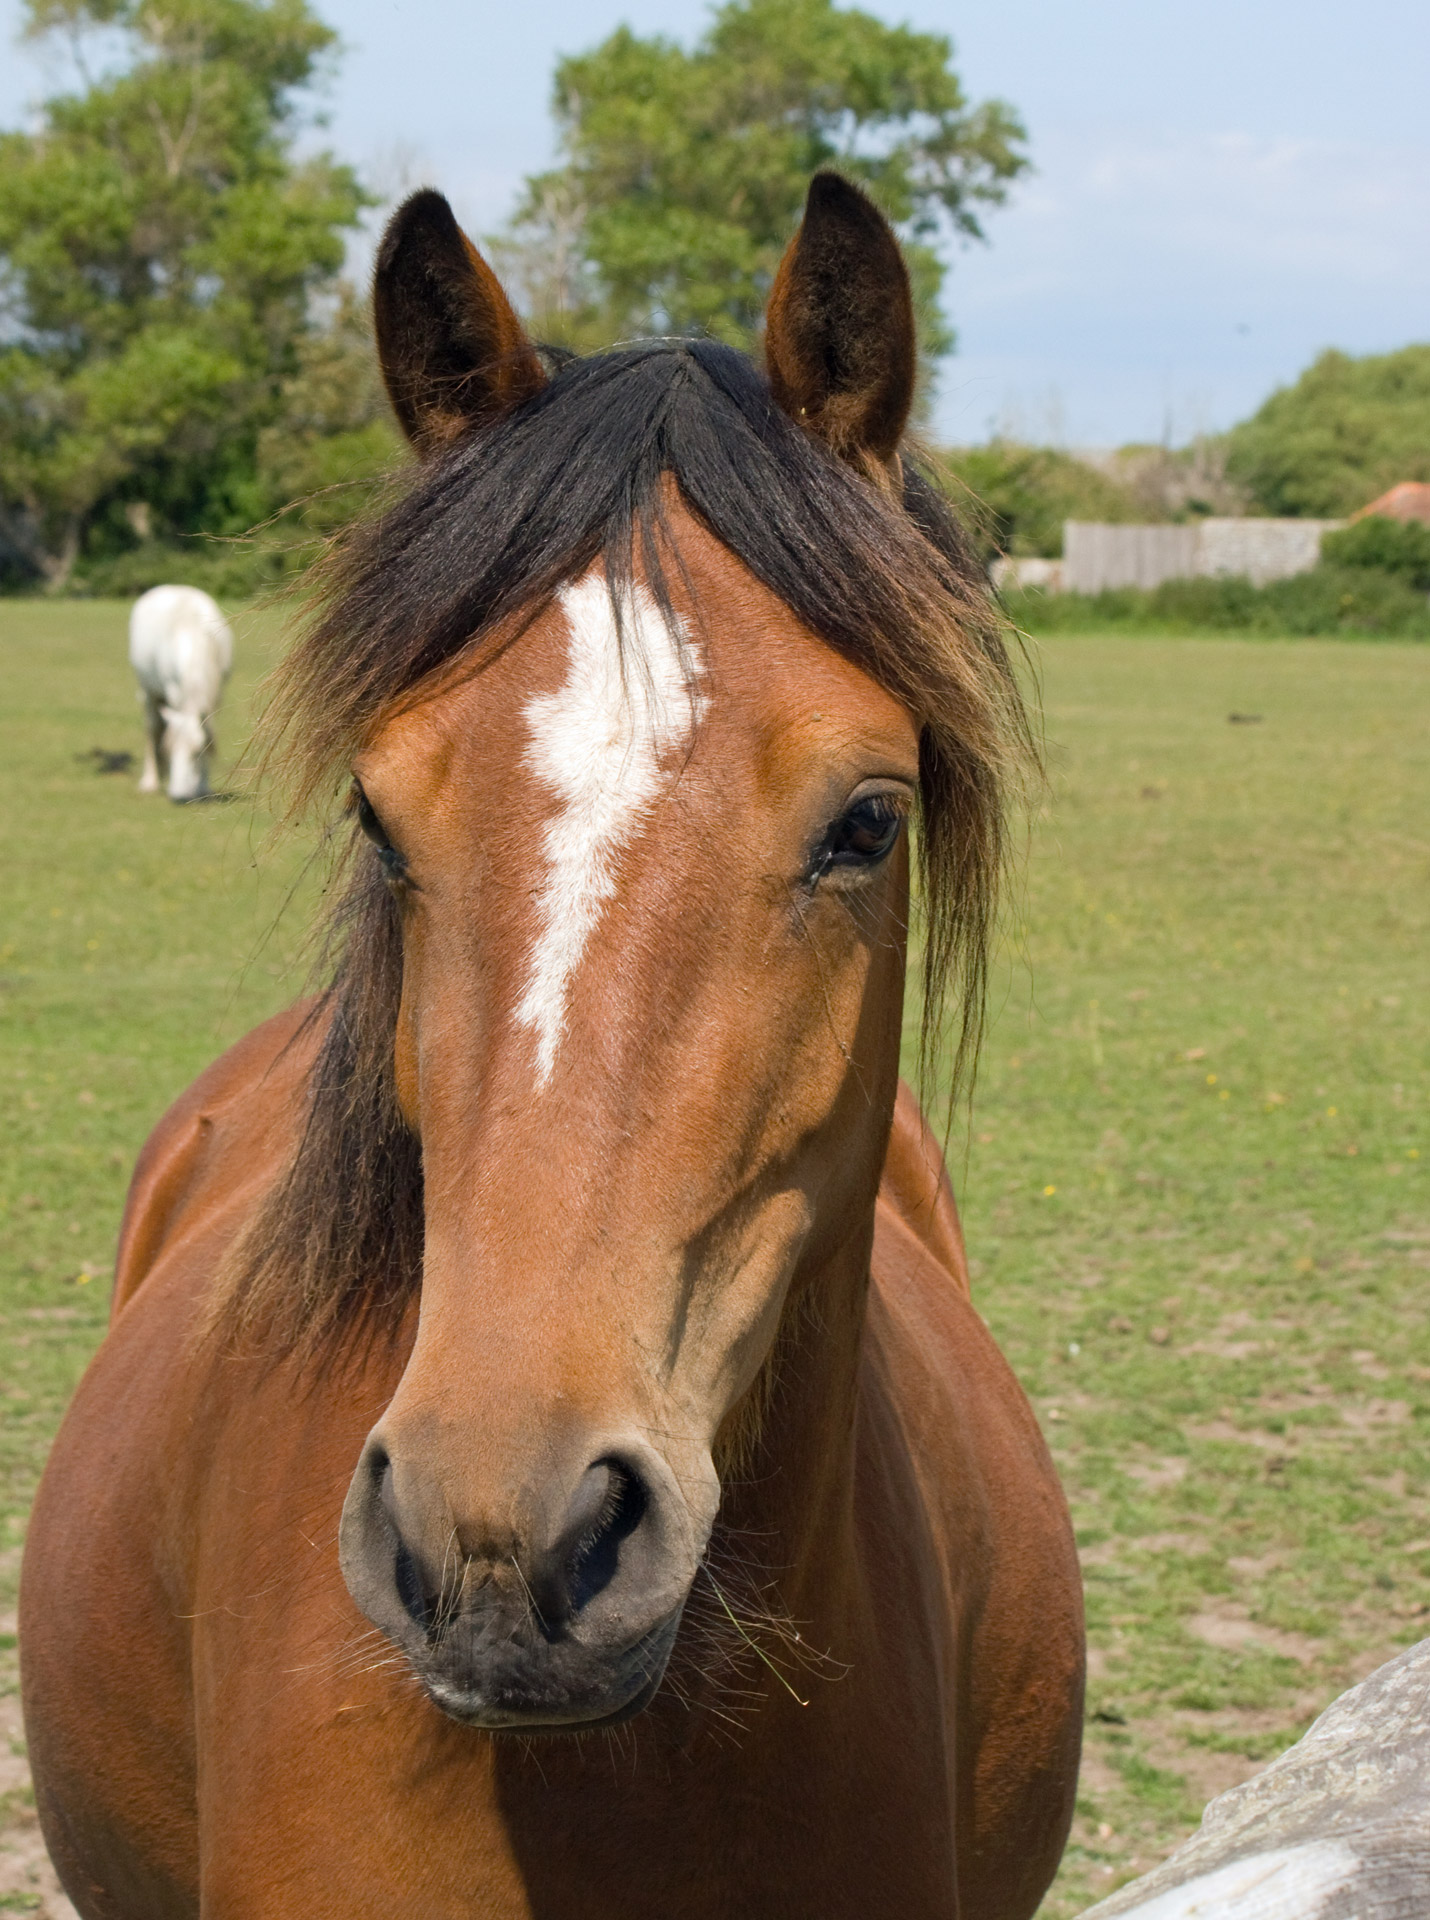
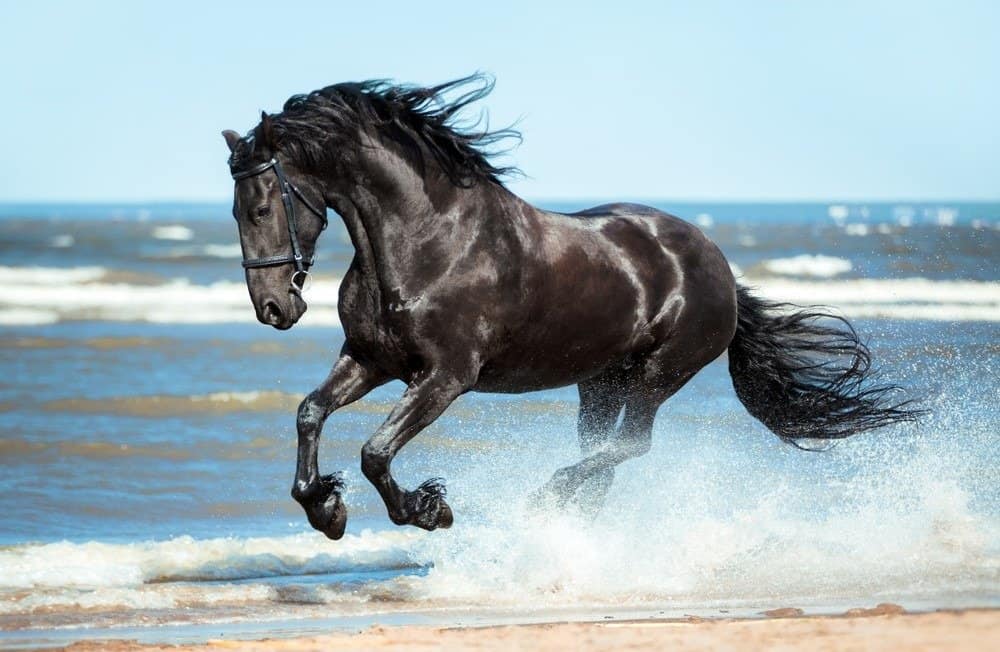
Observe real horses or pictures of horses. Pay attention to their anatomy, how their legs bend, and the way their mane and tail flow. You don't need to copy them exactly, but understanding their basic structure will help your drawings look more believable. Even for a cartoon horse, having a sense of real horse anatomy makes a difference. It's a rather subtle thing, but it really adds to the quality.
Don't be afraid to experiment with different styles. Maybe you like a more realistic look, or perhaps a very cartoony, expressive horse is more your thing. The "My text" mentions drawing of a horse, showing how this timeless theme transcends styles, from abstract to more traditional. This means there's no single "right" way to draw a horse, which is pretty liberating, honestly. Just have fun with it and let your own style come through, that's really the main point.
And remember to enjoy the process! Drawing should be a relaxing and enjoyable activity. If you're interested in drawing animals in your spare time, we hope you enjoy these simple tutorials on how to draw a horse. It's about the joy of creation, not just the final product. So, just relax, put on some music, and let your pencil do the talking, you know?
Common Questions About Horse Drawing Easy
Is it really easy to draw a horse?
Yes, it really can be! The key is to follow simple, step-by-step instructions. Many tutorials break down the horse into basic shapes like ovals and circles, making the process much less daunting. It's about building the drawing piece by piece, rather than trying to get everything right at once. So, yes, with the right guidance, it's actually quite achievable for anyone, which is pretty cool, isn't it?
What are the basic shapes to start drawing a horse?
Typically, you'll start with ovals or circles. One larger oval can form the main body, and a smaller one can be for the head. You might also use simple lines for the neck and legs to establish their position. These shapes act as a framework, and you'll refine them later. It's a very fundamental approach, and it works very well for getting the proportions right before adding detail, you know?
What materials do I need to draw a horse?
You really just need a pencil and paper to get started. A pencil with a great eraser is especially helpful, as you'll be sketching lightly at first and then cleaning up your lines. If you want to add color, crayons or colored pencils are good options. You don't need anything fancy, which is rather convenient. Just those basic tools are enough to create a wonderful horse drawing, as a matter of fact.
Keeping Your Drawing Journey Going
As you get more comfortable with horse drawing easy, you might want to explore other animals or even more detailed scenes. The skills you pick up here, like breaking down complex forms into simple shapes and building up a drawing step by step, are very useful for all sorts of art projects. It's a bit like learning the alphabet before writing a story, you know?
Remember that drawing is a skill that grows with practice and patience. Don't be discouraged by drawings that don't turn out exactly as you imagined. Every line you draw, every attempt you make, teaches you something new. It's all part of the creative journey. If you want to draw a horse, this tutorial is for you, and it's easy for beginners to follow, as a matter of fact. Learning a bit about horse anatomy can also really help your drawings feel more real, if you decide to go that way.
So, keep your pencil ready and your paper handy. There are always new things to learn and new ways to express yourself through art. You can learn more about drawing techniques on our site, and you might also like to check out our other animal drawing guides. Happy drawing!