Have you ever looked at a camera, maybe one of those sleek digital SLR cameras from Nikon or Canon, and just felt like capturing its lines on paper? It's a pretty common feeling, you know, when something has such interesting shapes and details. Drawing cameras is actually a wonderful way to sharpen your observation skills and really appreciate the design that goes into these amazing devices. It's a creative outlet that connects your love for photography with the simple joy of putting pencil to paper, or stylus to screen. In a way, it helps you see your gear in a whole new light.
So, whether you're an avid photographer who spends time looking at digital cameras from Sony, or perhaps you just like the classic look of older models, there's something truly satisfying about sketching them out. It's more than just copying an object; it's about seeing the curves, the buttons, the lenses – all the little bits that make a camera what it is. This kind of drawing can be very relaxing, a bit like a meditation, allowing you to slow down and really focus on the small things. It can, you know, just be a very rewarding process.
Perhaps you've thought about trying it but weren't sure where to begin, or maybe you just needed a little nudge. This guide is here to help you get started, offering tips and ideas for making your camera drawings really pop. We'll talk about what makes a good camera drawing, what sorts of things you might want to use, and how to approach different camera types, too. It’s about making the process fun and accessible for anyone who wants to give it a try.
- Mario Coloring Page
- Buenos Dias Imagenes
- Alice In Wonderland Twins
- Pink Highlights
- Call Of Duty Ghost Mask
Table of Contents
- Why Draw Cameras? A Look at the Appeal
- Getting Started: Your Drawing Toolkit
- Understanding Camera Shapes and Forms
- Drawing Different Camera Types
- Adding Depth and Realism to Your Camera Drawing
- Common Questions About Camera Drawing
- Finding Inspiration and Practicing
Why Draw Cameras? A Look at the Appeal
Drawing cameras, or any object really, offers a unique way to connect with the things around us. For those who enjoy photography, it’s a natural extension of that interest. It lets you explore the design and engineering of something you probably use a lot. You might even discover new appreciation for the intricate parts of a Canon or a Fuji camera when you really look at them to draw. It’s almost like taking a camera apart with your eyes, in a way.
There's also the pure artistic joy of it. Cameras, especially many of the digital ones available at places like Best Buy or B&H, have such interesting shapes. They blend straight lines with gentle curves, and they have all sorts of buttons, dials, and textures. This makes them a really fun subject to draw, offering a nice challenge for anyone wanting to improve their drawing skills. It’s a good way to practice perspective and form, too.
Plus, drawing can be a very calming activity. It helps you focus and be present, which is something many people look for these days. You get to create something tangible, something that reflects your own view of the object. So, you know, it's more than just making a picture; it's about the process itself.
Getting Started: Your Drawing Toolkit
You don't need a whole lot of fancy stuff to start drawing cameras. Really, just some basic supplies can get you going. What you pick depends a little on whether you prefer working with traditional materials or if you like the idea of drawing on a screen. Both ways have their own benefits, and both can lead to some really nice camera drawings.
Traditional Tools for Sketching
For traditional drawing, a few simple items are usually all you need. A good set of pencils is a fine start. You might want a range, from harder ones (like 2H or H) for light outlines to softer ones (like 2B or 4B) for darker shading. This helps you get different tones and depths in your drawing.
Paper is also important. A smooth drawing paper works well for fine details, while something with a bit more texture can be nice for broader strokes or charcoal drawings. An eraser, maybe a kneaded one, is also very helpful for lifting graphite without smudging. You might also like a ruler for those straight lines, especially on the body of a digital camera.
Beyond pencils, you could explore pens for ink drawings, or even charcoal for a softer, more dramatic look. The choice of tool can really change the feel of your camera drawing, so it's fun to experiment a bit.
Digital Drawing Options
If you're more into technology, drawing digitally is a great choice. You'll need a drawing tablet, which can range from a simple screen-less tablet to a full display tablet. These often come with a stylus that feels a lot like a pen or pencil in your hand.
Then you'll need some drawing software. Programs like Procreate, Photoshop, or Clip Studio Paint offer a huge range of brushes that can mimic pencils, pens, paints, and more. This gives you a lot of flexibility, and it's easy to correct mistakes or try different things without wasting paper. It's a bit like having an endless supply of art materials right at your fingertips.
Drawing digitally can be really good for getting sharp lines and smooth gradients, which are often found on modern digital cameras. It allows for a lot of precision, too.
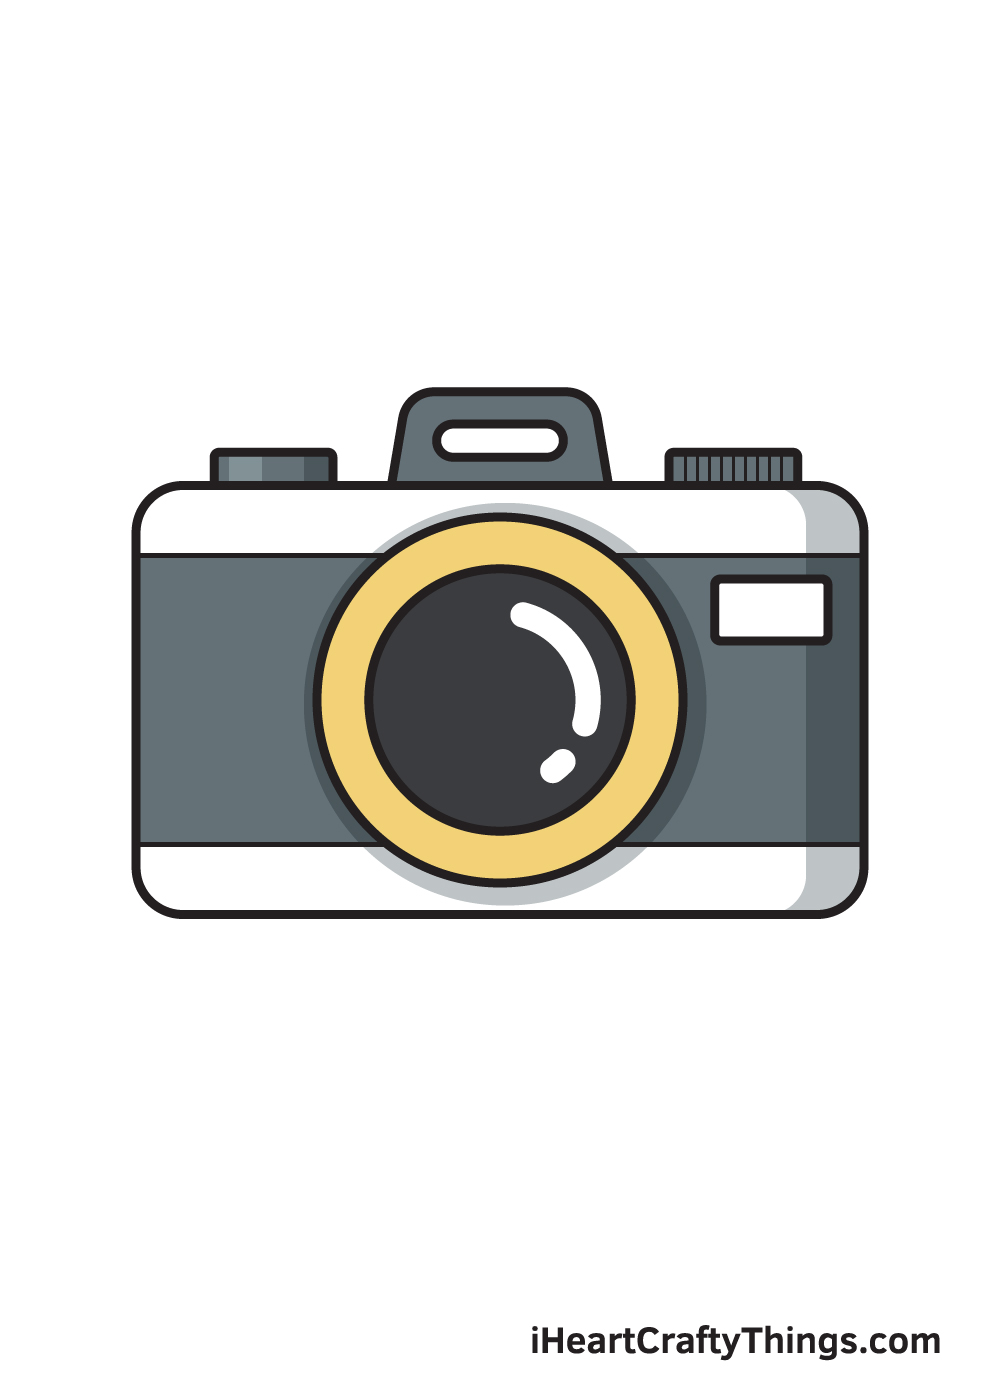
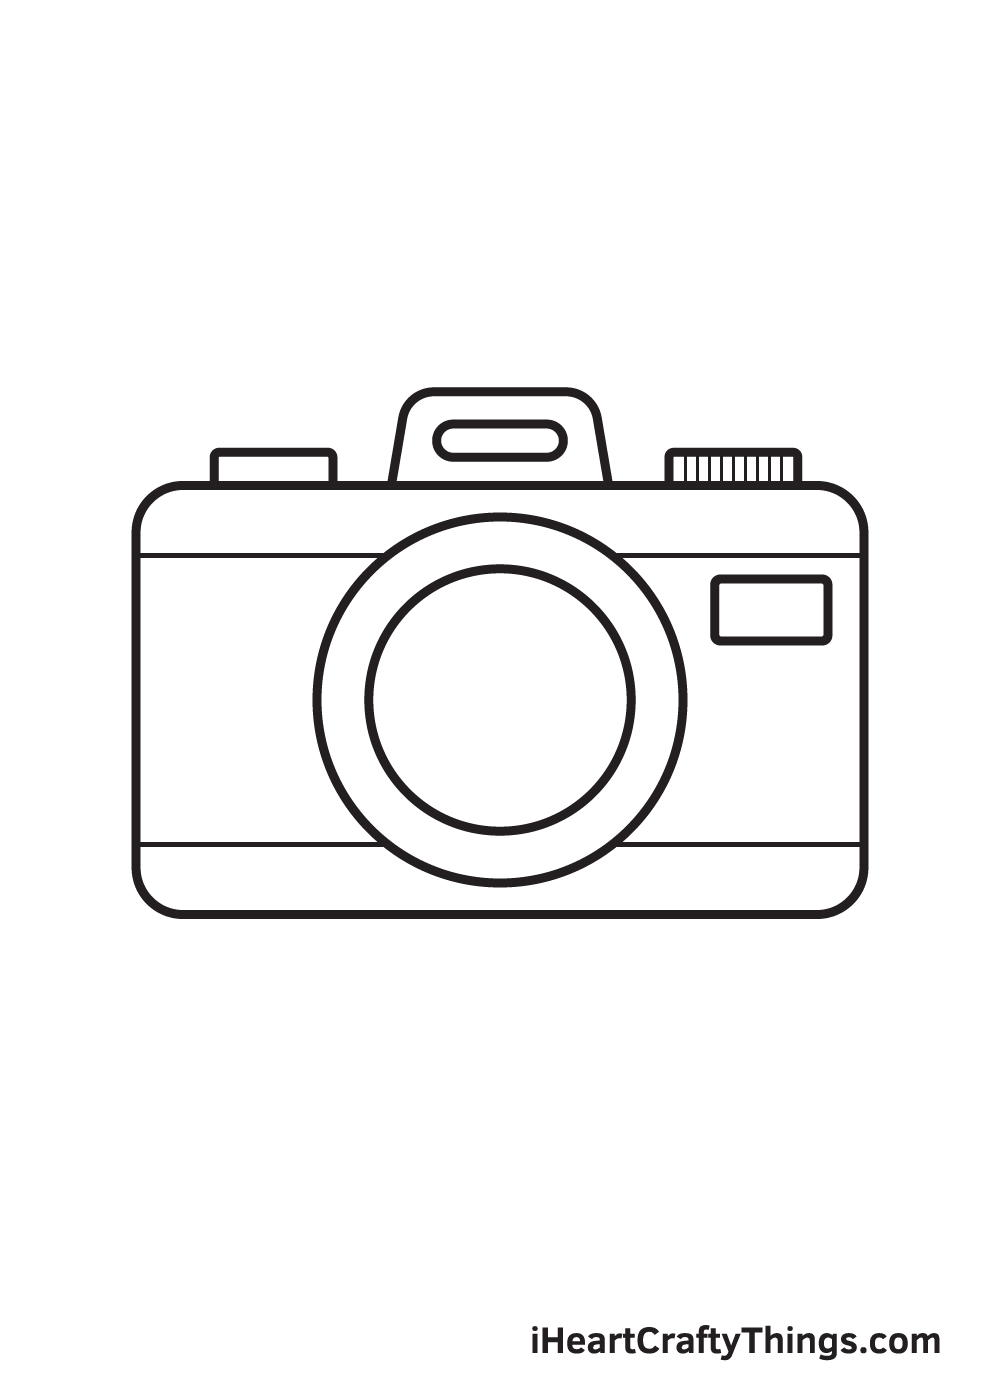
Understanding Camera Shapes and Forms
Before you even put a mark on your paper, take a good look at the camera you want to draw. Whether it's a mirrorless camera or a classic DSLR from Kodak, every camera has a basic shape. Seeing these underlying forms will make the drawing process much easier, you know.
Breaking Down the Basics
Most cameras, especially digital ones, are built around a few simple geometric shapes. The main body is often a rectangular block. The lens is usually a cylinder or a series of cylinders. The viewfinder, if it has one, might be a small rectangle or a slightly rounded bump on top.
Start by lightly sketching these basic shapes. Don't press too hard, as these are just guides. Think of it like building a skeleton for your drawing. This step helps you get the proportions right and make sure everything is in the right place before you add details. It's a pretty crucial first step, actually.
For example, if you're drawing a DSLR, you'll first sketch the large rectangular body, then the cylindrical lens attached to the front. You might then add a smaller rectangle on top for the flash housing. This simple approach really helps break down something that looks complex into manageable parts.
Focusing on Details
Once your basic shapes are down, you can start adding the smaller, more intricate details. Think about the buttons, the dials, the screens, and the textures. A digital camera from Sony, for instance, has a lot of little buttons and perhaps a textured grip. These small elements are what make your camera drawing look real and interesting.
Pay attention to how these details sit on the main forms. Are they raised? Are they indented? Do they have a particular pattern? Taking your time with these bits can really bring your drawing to life. It’s also where you can show off the specific brand features, like the distinct logo of a Canon or Nikon.
Sometimes, it helps to zoom in with your eyes, or even use a reference photo that you can zoom into, to really see the tiny elements. The little ridges on a lens barrel, the small text on a button – these are the things that add authenticity.
Drawing Different Camera Types
The world of cameras is pretty vast, as you can see from the huge selection of digital cameras at places like B&H or Staples. Each type has its own unique look, which makes drawing them quite fun. You'll find that adapting your approach slightly for each kind of camera can make a big difference in your drawing.
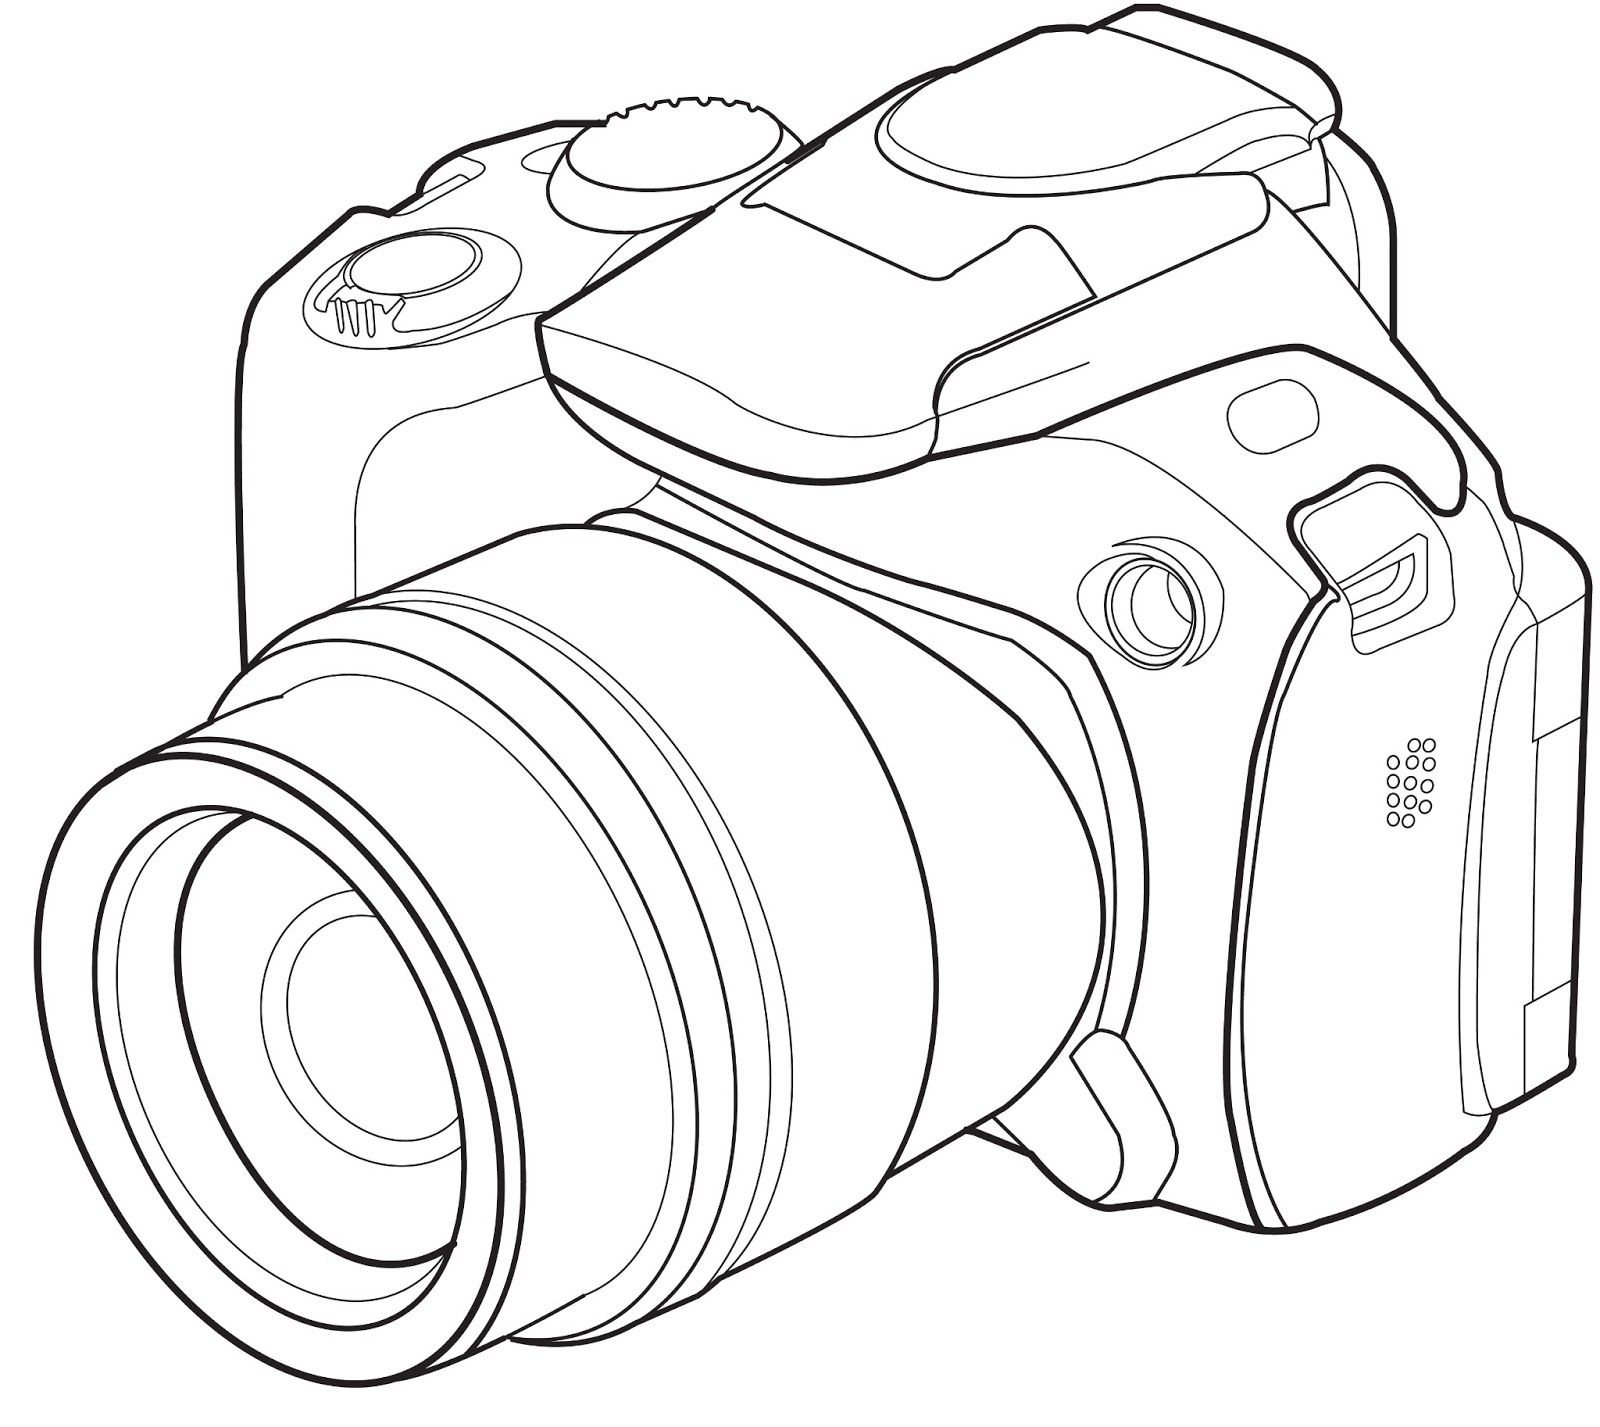
Digital SLR Cameras
DSLRs, like those from Nikon or Canon, often have a very distinct shape. They're typically bulkier, with a prominent pentaprism hump on top and a large, often detachable, lens. When drawing a DSLR, really focus on that strong, almost blocky body and the way the lens protrudes from it.
The grip on the side is another key feature, often textured. Pay attention to the way light hits the various surfaces, creating shadows and highlights that define its shape. These cameras have a very sturdy, professional look, which you can convey through strong lines and careful shading.
You might also want to show the lens attached to the body, as that's a big part of the DSLR's identity. Think about the lens hood, too, if it has one, as it adds another interesting shape.
Mirrorless and Point & Shoot
Mirrorless cameras, like some of the newer Sony or Fuji models, tend to be more compact and sleeker than DSLRs. They often lack the prominent hump on top. Point & shoot digital cameras are usually even smaller, designed for simplicity and portability.
When drawing these, focus on their more streamlined forms. The lenses might be smaller, or even built right into the body. These cameras often have a more modern, minimalist feel. You'll want to pay attention to smooth surfaces and subtle curves.
The screen on the back of these cameras is often a very dominant feature, so make sure to capture its rectangular shape and perhaps even suggest the image on it. These types of cameras really show how diverse digital camera designs can be.
Instant Cameras and Camcorders
Instant cameras, with their retro charm, and camcorders, with their often elongated bodies, present different drawing challenges and opportunities. Instant cameras, for example, often have very distinct, sometimes quirky, shapes and bright colors.
For instant cameras, capture their unique proportions and the way the film comes out. They often have a fun, playful vibe. Camcorders, on the other hand, might have a long body, a flip-out screen, and a handle. These offer different angles and perspectives to explore in your drawing.
Drawing these types of cameras lets you explore a wider range of forms and details, moving beyond the typical digital camera look. It’s a good way to expand your drawing repertoire, too.
Adding Depth and Realism to Your Camera Drawing
Once you have the basic outline and details of your camera drawing, the next step is to make it look three-dimensional and real. This is where shading, light, and texture come into play. These elements truly bring your drawing to life, making it pop off the page.
Shading and Light
Light is what makes objects visible, and understanding how it hits your camera is key to realistic drawing. Notice where the light source is coming from. Is it from the top, the side, or somewhere else? This will tell you where the highlights (brightest parts) and shadows (darkest parts) should be.
Use different pencil pressures or digital brush opacities to create a range of tones, from very light grays to deep blacks. Shadows will be darkest where the object meets the surface it's resting on, and also in recessed areas like between buttons or under the lens. Highlights will appear on shiny surfaces, like the lens glass or polished metal parts.
Shading really gives your camera drawing a sense of form and volume, making it look solid rather than flat. It's a pretty important step for realism, honestly.
Texture and Materials
Cameras are made of various materials: plastic, metal, rubber, glass. Each material has its own texture, and representing these textures can add a lot of realism to your drawing. For example, the rubber grip on a DSLR will have a different feel than the smooth plastic body of a point & shoot camera.
To show texture, you can use different drawing techniques. For smooth surfaces, use even, blended shading. For rougher textures, like a camera grip, you might use small, short strokes or stippling to suggest the bumpy feel. The glass of the lens will have very sharp, bright highlights and reflections.
Paying attention to these material qualities helps the viewer understand what your camera drawing is made of, making it feel more tangible. It’s a subtle but powerful way to enhance your art.
Common Questions About Camera Drawing
People often have a few questions when they start thinking about drawing cameras. Here are some common ones that might be on your mind, too.
**Is it hard to draw a camera?**
It might seem a little tricky at first, especially with all the small parts. But like anything new, it gets easier with practice. Starting with simple shapes and then adding details helps a lot. Breaking it down into smaller steps makes it much less overwhelming. You'll find that with a little patience, it's actually quite enjoyable.
**What makes a good camera drawing?**
A good camera drawing usually has accurate proportions and a clear sense of form. It shows how light hits the camera, creating shadows and highlights that give it depth. Also, paying attention to the unique details of the specific camera model, like the brand logo or a particular button layout, really makes it stand out. It’s about capturing its character, in a way.
**What materials do you need for camera drawing?**
You can start very simply! A pencil and some paper are all you truly need. As you get more comfortable, you might want to try different pencil grades for varied shading, or even explore pens for ink drawings. If you prefer digital art, a drawing tablet and software like Procreate or Photoshop are great tools. The most important "material" is really your willingness to try.
Finding Inspiration and Practicing
The best way to get better at camera drawing is simply to draw often. Don't worry about making every drawing perfect. Each sketch is a chance to learn something new. You could try drawing your own digital camera, or maybe look at some of the many options available online, like those at Best Buy or B&H, for inspiration. There's a huge selection, so you'll never run out of subjects.
Look at photos of different camera types: DSLRs, mirrorless cameras, instant cameras, and even older film cameras. Try drawing them from different angles. This helps you understand their forms better. You might also find it helpful to look at how other artists draw objects. There are so many drawing tutorials out there, too.
Remember that drawing is a skill that grows with consistent effort. Just keep sketching, and you'll see your camera drawings improve over time. You can learn more about drawing on our site, and even link to this page for more specific techniques. It's all about enjoying the process and seeing what you can create.