Is that a bit of a gap showing where your bathtub meets the wall? Perhaps you are seeing some discoloration, or maybe the old seal just looks tired. Well, that kind of thing can really take away from how clean and fresh your bathroom feels, can't it? That little space, you know, it needs a good, solid finish, and that's where bathtub molding comes into its own. It's more than just a pretty edge; it's a very important barrier, keeping water where it belongs and making your bathroom look much tidier, too.
A lot of folks, you see, might just think about caulk for sealing around the tub. And while caulk is important, bathtub molding offers a much more polished, and arguably, a more durable solution. It provides a clean line, a finished look that caulk alone just can't quite achieve. Plus, it can actually make cleaning a whole lot simpler, which is nice, isn't it?
This article will guide you through what bathtub molding is, why it's a good idea, and how to pick the right kind for your space. We'll also talk about putting it in place and keeping it looking good. You'll find out how this small detail can make a really big difference in your bathroom's appearance and how it works.
Table of Contents
- What is Bathtub Molding and Why Does it Matter?
- Choosing the Right Material for Your Bathtub Molding
- Preparing for Your Bathtub Molding Project
- Step-by-Step Guide to Installing Bathtub Molding
- Troubleshooting Common Bathtub Molding Issues
- Maintaining Your Bathtub Molding for Long-Lasting Beauty
- Where to Find the Perfect Bathtub for Your Home (and its Molding!)
- Frequently Asked Questions About Bathtub Molding
What is Bathtub Molding and Why Does it Matter?
Bathtub molding, in a way, is the finishing touch that bridges the space between your bathtub and the surrounding wall or tile. It's usually a strip of material, often shaped to fit snugly, that goes along the top edge of the tub. Think of it as a decorative and functional seal, really. It's not just there for looks, though it certainly helps with that; it also serves a very practical purpose, too.
The main job of this molding is to stop water from getting behind your tub or into the wall. If water seeps into those hidden spaces, you could end up with some pretty serious problems, like wood rot, mildew, or even structural damage. A good, solid seal here is actually crucial for keeping your bathroom healthy and dry. It's a key part of waterproofing your bathing area, you see.
Beyond the practical side, bathtub molding also gives your bathroom a much more polished and finished appearance. It covers up any uneven lines or gaps that might be there, making the whole area look neat and professional. It’s a small detail, perhaps, but it can significantly improve the overall look and feel of your bathroom, making it seem much more put together.
Choosing the Right Material for Your Bathtub Molding
Picking the right material for your bathtub molding is, arguably, a big decision. You want something that stands up to moisture, looks good, and is relatively easy to work with. There are a few common options, each with its own benefits and things to consider, naturally. Let's look at some of the popular choices people often go with.
PVC Molding
PVC, or polyvinyl chloride, molding is a very popular choice, and for good reason. It's incredibly water-resistant, which is, you know, exactly what you need in a bathroom. It won't rot, warp, or support mold growth, which is a big plus. You can find it in various profiles and colors, often white, and it's generally quite affordable, too. Installation is typically straightforward, often involving adhesive or sometimes even just peel-and-stick options, making it a favorite for DIY projects, really.
However, while PVC is durable, it might not offer the same high-end look as some other materials. It can sometimes look a bit more utilitarian, if that makes sense. It's also not always the easiest to paint if you want a custom color, as some types require special primers. Still, for a practical and long-lasting solution, PVC is often a very solid choice.
Tile Trim or Schluter Strips
If your bathroom has tiled walls around the tub, then tile trim, sometimes called Schluter strips after a well-known brand, could be a great option. These are usually made of metal, like aluminum or stainless steel, or sometimes PVC, and they provide a very clean, crisp edge where the tile meets the tub. They are installed when the tile is put in, so they become an integral part of the wall system, which is pretty neat.
Tile trim offers a very modern and sleek look, and it's extremely durable. It's also excellent at preventing water intrusion when installed correctly. The downside is that it's typically more involved to install, as it requires tiling knowledge and often special tools. It's not really a simple add-on for an existing setup, you see, but rather something planned during a full tile installation.
Acrylic and Rubber Strips
You'll also find flexible acrylic or rubber molding strips. These are often sold as a quick fix or a DIY-friendly option, sometimes with a self-adhesive backing. They are designed to be flexible, so they can conform to slight imperfections in the wall or tub line, which can be very helpful, actually. They are generally quite easy to cut and apply, making them appealing for those looking for a fast update.
While convenient, these flexible strips might not offer the same long-term durability or robust seal as rigid PVC or tile trim. The adhesive can sometimes lose its grip over time, especially in high-moisture areas, potentially leading to peeling or gaps. They are, perhaps, best for temporary solutions or areas with very minimal water exposure, or where a very quick fix is needed.
Preparing for Your Bathtub Molding Project
Getting ready for your bathtub molding project is, honestly, just as important as the installation itself. A little bit of preparation can save you a lot of headaches later on. You want a clean, dry surface for the new molding to stick to properly, you know. This step really sets the stage for a successful outcome.
First things first, you'll need to remove any old caulk or existing molding. This can be a bit tedious, but it's crucial. Use a utility knife or a caulk removal tool to carefully cut away the old material. Be gentle so you don't scratch your tub or walls. After cutting, you might need a scraper or even a bit of mineral spirits to get rid of any stubborn residue. You want the surface to be smooth and free of old gunk, basically.
Once the old stuff is gone, give the area a very thorough cleaning. Use a good bathroom cleaner to remove any soap scum, mildew, or dirt. Then, and this is important, make sure the surface is completely dry. Any moisture left behind can prevent your new adhesive or caulk from bonding properly. You might even use a fan or a hairdryer to speed up the drying process, just to be sure. A dry surface is, you know, absolutely key for a strong bond.
Step-by-Step Guide to Installing Bathtub Molding
Putting in new bathtub molding can be a very satisfying project, and it's something many people can do themselves. With the right tools and a bit of patience, you can achieve a professional-looking finish. Let's walk through the steps, shall we, to get that clean, sealed edge.
First, measure the length of each section where you'll be applying molding. It's usually best to cut the pieces a little long and then trim them down for a precise fit. If you're working with corners, you'll need to cut 45-degree angles, just like you would with baseboards, to create a neat mitered joint. This takes a little practice, but it makes a big difference in the finished look, you know.
Next, apply your adhesive or sealant. If your molding is peel-and-stick, simply remove the backing. For other types, apply a continuous bead of waterproof adhesive or silicone caulk along the back of the molding, where it will meet the tub and the wall. Make sure you use a product that's specifically designed for bathroom use and is waterproof, naturally. You want a good, even layer for a strong bond.
Carefully press the molding into place, starting at one end and working your way along. Apply firm, even pressure to ensure good contact with both the tub and the wall. If you're doing corners, make sure your mitered cuts line up perfectly. You might need to hold the molding in place for a minute or two, depending on the adhesive's initial grab. Wipe away any excess adhesive that squeezes out immediately with a damp cloth; it's much easier to clean when wet, you see.
Finally, and this is a very important step, apply a thin bead of silicone caulk along the top and bottom edges of the newly installed molding. This creates a secondary seal, really, protecting against any tiny gaps that water might otherwise find. Smooth the caulk with a wet finger or a caulk tool for a clean, professional line. Let everything cure for at least 24 hours, or as recommended by the product manufacturer, before exposing it to water. This curing time is pretty essential for a lasting seal.
Troubleshooting Common Bathtub Molding Issues
Even with careful installation, sometimes issues can pop up with bathtub molding. Knowing how to deal with them can save you from a bigger problem later on. It's usually about spotting things early and taking action, you know.
One common issue is the molding starting to come loose. This often happens if the surface wasn't perfectly clean or dry during installation, or if the adhesive wasn't strong enough. If it's just a small section, you might be able to re-adhere it with a bit more waterproof adhesive or caulk. For larger sections, you might need to carefully remove the loose part, clean the area thoroughly again, and then reapply it with fresh adhesive. A good, strong bond is, arguably, everything here.
Mildew or mold growth on or behind the molding is another frequent complaint. This usually means moisture is getting trapped, or the area isn't drying out properly. If the mold is just on the surface, a good cleaning with a bleach solution or a specialized mold cleaner can often take care of it. If it's behind the molding, it might mean the seal is compromised. In that case, you might need to remove the molding, address the mold issue on the wall or tub, and then reinstall new molding with a proper seal. Good ventilation in the bathroom is also very helpful in preventing this, too.
Leaking is, perhaps, the most serious issue. If you notice water pooling outside the tub or dampness in the wall, your molding isn't doing its job. This could be due to a crack in the molding itself, a gap in the caulk, or a complete failure of the adhesive bond. You'll need to identify the exact spot of the leak. Often, reapplying fresh caulk along the edges can fix minor leaks. For more significant leaks, you might need to remove and replace the entire section of molding, making sure to apply plenty of waterproof sealant during reinstallation. It's really about ensuring that water has absolutely no way to get past that barrier.
Maintaining Your Bathtub Molding for Long-Lasting Beauty
Once your bathtub molding is in place, a little regular care can keep it looking good and performing its job for many years. It's not a lot of work, honestly, but it makes a big difference in the long run. Think of it as protecting your investment, you know.
Regular cleaning is, perhaps, the simplest step. Use your usual bathroom cleaner and a soft cloth or sponge to wipe down the molding whenever you clean your tub. This helps prevent soap scum buildup and keeps mildew from taking hold. Avoid harsh abrasive cleaners or scrub brushes, as these can scratch or damage the surface of the molding, which you don't want, obviously.
It's also a good idea to inspect your molding periodically, maybe once every few months. Look closely for any signs of wear and tear, like cracks, peeling, or discoloration. Check the caulk lines, too; they can sometimes crack or pull away from the surface over time. If you spot any small issues, address them right away. A tiny crack can become a big leak if left unchecked, you see.
If you find small sections of caulk that are cracked or pulling away, you can usually just cut out the damaged part and apply a fresh bead of silicone caulk. For larger areas of damage or if the molding itself is severely discolored or cracked, it might be time for a full replacement. While it might seem like a chore, replacing old, worn-out molding is a pretty important step in keeping your bathroom looking great and preventing water damage. It's much easier to do it before a major problem starts, too.
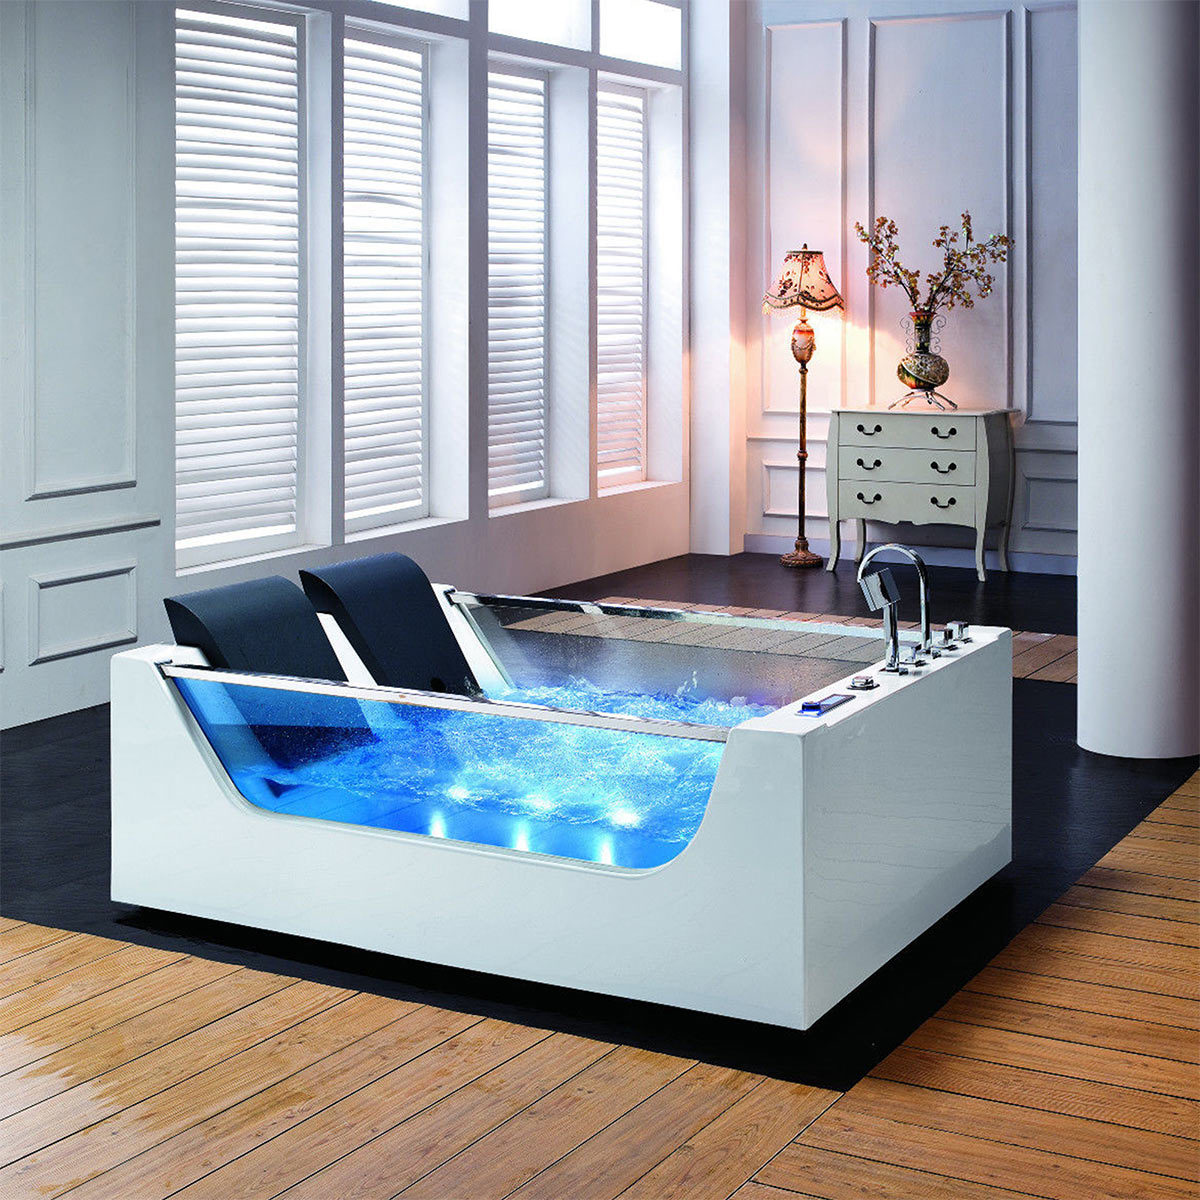
Where to Find the Perfect Bathtub for Your Home (and its Molding!)
When you're thinking about bathtub molding, it often goes hand-in-hand with choosing the right bathtub itself. After all, the molding is the finishing touch to your bathing space. Finding the ideal tub for your home means looking at a wide range of options, because it's not just about choosing any bathtub, is it? It's about finding the right one that fits your budget, your taste, and your household's needs, you know.
You'll find a wide selection of bathtubs and bathroom products online at places like our site, and also at big home improvement stores. For instance, you can shop bathtubs and more at The Home Depot, where they have a wide range of options from small bathtubs perfect for soaking to large ones. Lowe's also has a variety of products for projects, including bathtubs and whirlpool tubs, which is pretty convenient. They have bathtubs and a variety of bathroom products online at lowes.com, too.
Beyond those, you can shop through a wide selection of bathtubs at amazon.com, often with free shipping and free returns on Prime eligible items, which is a nice perk. You might also want to shop Kohler bathtubs and see their entire selection of soaking tubs, alcove tubs, jacuzzi baths, and more in a variety of colors like white, biscuit, and grey. We've actually rounded up the best bathtubs for a wide range of budgets, tastes, and household needs to help you find the ideal tub for your home, researching options from Home Depot, Build, Pottery Barn, and more. You can also shop online at costco.com today, or save on bathtub brands including Woodbridge, American Standard, and Kohler freestanding tubs at Walmart. Denver Bathtubs, for example, provides feature-rich whirlpool bathtubs, combination bathtubs, air tubs, and soaking bathtubs at very low prices, if you're partial to a specific brand you’ve used or a particular type of tub. A new bathtub can really revitalize the overall look of your bathroom, you see, and getting the molding right is part of that fresh start. Learn more about bathroom renovations on our site, too.
Frequently Asked Questions About Bathtub Molding
People often have questions about bathtub molding, and that's perfectly normal. Here are some common ones that come up, just to help clear things up, you know.
What can I use instead of caulk around a tub?
While caulk is usually part of the sealing process, bathtub molding itself can provide a more substantial and decorative alternative to relying solely on a caulk bead. Materials like PVC molding strips or tile trim offer a physical barrier and a cleaner finished look. They are often used in conjunction with a thin bead of caulk to ensure a complete waterproof seal, so it's not always an either/or situation, really.
What is the best way to seal around a bathtub?
The best way to seal around a bathtub typically involves a combination of methods for a long-lasting, watertight barrier. This usually means applying a continuous bead of high-quality, mold-resistant silicone caulk along the joint where the tub meets the wall or tile. Adding bathtub molding on top of or alongside this caulk provides an extra layer of protection and a much more polished appearance. Proper surface preparation, like cleaning and drying, is also absolutely essential for a strong seal, you see.
How do you finish the edge of a bathtub?
Finishing the edge of a bathtub usually involves creating a clean, waterproof transition from the tub to the surrounding wall or tile. This is often done by applying a bead of silicone caulk. However, for a more robust and visually appealing finish, bathtub molding is frequently used. This molding, whether it's PVC, tile trim, or another material, covers the seam and provides a crisp, finished edge, making the entire area look much more complete and tidy, which is nice, isn't it?